
Ever watched your cat swipe at a regular brush and then wonder if there’s a smarter way to keep the coat tidy?
We get it – you love those sleek fur moments, but the endless shedding and the constant clean‑up can feel like a never‑ending battle. That’s exactly why the self cleaning cat brush has been buzzing in cat‑lover circles lately.
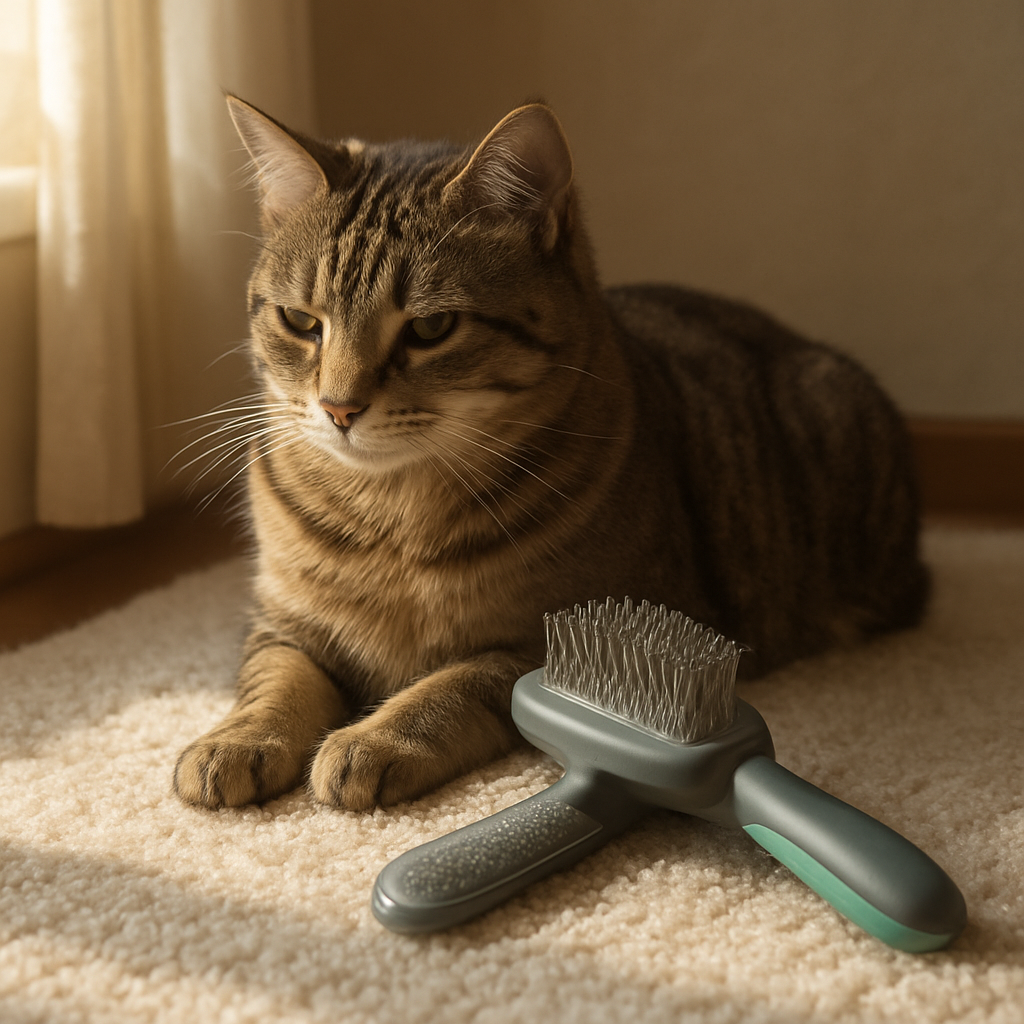
Picture this: you finish a quick grooming session, press a button, and the bristles spin out the loose hair into a tiny compartment. No more fiddling with tangled combs or scooping fur off the floor. Sounds like a tiny miracle, right?
But before you rush to add one to your cart, let’s unpack what makes this gadget actually useful for everyday pet parents. We’ll explore how the automatic cleaning mechanism works, what types of fur it handles best, and a few practical tips to get the most out of it without breaking the bank.
In our experience at Kaotik kollectionz, we’ve seen a lot of cat owners struggle with the “hair everywhere” syndrome, especially during seasonal shedding. A self cleaning cat brush can cut down the daily tidy‑up time by half, giving you more moments to just chill with your feline.
So, what should you look for when choosing one? First, check the cleaning method – is it a simple pull‑out tray, a rotating drum, or a disposable liner? Second, consider the brush type: rubber bristles are gentle for short coats, while steel pins work better on thick, long fur. Third, think about noise level; a quiet motor keeps even the skittish kitty calm.
And don’t forget maintenance. A brush that’s easy to disassemble and rinse will last longer, and you’ll avoid the dreaded “stuck hair” frustration. A quick rinse under warm water, a wipe of the motor housing, and you’re ready for the next grooming session.
Ready to say goodbye to endless fur piles and hello to a smoother grooming routine? Let’s dive deeper into the features, pros, and cons so you can decide if the self cleaning cat brush is the right fit for you and your whiskered companion.
A self cleaning cat brush slashes grooming time, pulls out loose fur with a push of a button, and keeps your floor fur‑free.
Choose one with a gentle bristle type, quiet motor, and easy‑to‑empty tray, and you’ll spend more quick chill moments with your feline instead of endless daily clean‑ups.
First things first – you need a calm cat and a brush that’s ready to do its thing. If your feline is already on edge, the whole grooming session can feel like a tug‑of‑war. So, take a moment to read their body language. A relaxed tail, slow blink, or a gentle head‑butt is the green light.
Got a cat that’s a bit skittish? Try a short play break with a feather wand or a few minutes of chin scratches. Once they’re in a chill mode, you’ll notice the self cleaning cat brush gliding more smoothly – no sudden jumps, no hair‑ball panic.
Choose a quiet corner where the brush’s motor won’t startle your pet. A sunny windowsill or a comfy rug works well. Avoid high‑traffic zones; you don’t want the vacuum‑like whirr of the brush competing with the fridge humming.
And hey, if you have a smart‑home hub, you can set a gentle reminder on your phone or even sync it with a video doorbell without subscription that lets you peek in on your cat while you’re out – just to make sure they’re not hiding under the sofa when you return.
Unbox the self cleaning cat brush and give it a quick rinse – warm water, a soft cloth, and you’re good. Check that the cleaning tray slides out easily; you’ll be emptying it a lot during those first weeks.
Before you start, run the brush on low speed for a few seconds. This lets the motor warm up and gives your cat a chance to hear the sound without the bristles touching them. If the noise feels too loud, place a towel underneath the brush base – it dampens the vibration.
Now, load the brush with a handful of loose fur you’ve already collected (yes, you can use the brush’s own tray). This pre‑load helps the cleaning mechanism demonstrate its “self‑cleaning” magic before you actually brush your cat.
Start at the neck and work toward the tail with gentle strokes. Let the brush do the work; you don’t need to force it. If your cat shows any sign of discomfort – a flick of the ear, a sudden pause – stop, give a treat, and try again in a minute.
After a few minutes, press the cleaning button. Watch the bristles spin and the fur drop into the tray. It’s oddly satisfying, like watching a mini‑laundry machine for pet hair.
Pro tip: keep a Quench Bottles water bottle handy. Hydration helps keep your cat’s coat supple, making the brush glide smoother and reducing static cling.
When you’re done, give your cat a quick cuddle or a treat – positive reinforcement turns grooming into a bonding ritual rather than a chore.
Notice how the brush’s cleaning cycle works in the video? That’s exactly what you’ll see when you press the button – the hair gets whisked away, leaving a clean brush ready for the next round.
For those who love a deeper dive into grooming tools, check out our Best Cat Grooming Clippers Reviewed guide. It’s a quick read that explains how clippers differ from brushes and when you might want to use one over the other.
Now that your cat is calm and the brush is primed, the next move is to tackle those knots before you flip the self‑cleaning switch. Why bother? A tangled clump can pull, snag, and turn a quick grooming session into a mini‑battle. You’ve probably felt that sudden tug on your wrist when a knot refuses to budge – it’s not fun for either of you.
1. Gather a wide‑tooth comb or a detangling brush. A tool with spaced teeth slides through fur without yanking, making it perfect for loose mats.
2. Start at the tip. Begin at the very end of the hair strand and work your way toward the skin. This gentle direction lets the fur loosen gradually instead of pulling it all at once.
3. Use short, light strokes. A few quick flicks, then pause, let your cat sniff the tool, and reward with a treat. You’ll notice the knot loosening after a couple of passes.
4. Switch to your fingers for stubborn spots. If the comb can’t get through, gently separate the hair with your thumb and forefinger. Think of it like untangling a necklace – a little patience beats brute force every time.
5. Give the skin a quick rub. Once the mat is gone, a brief, soft rub with your palm helps calm any irritation and lets the cat know you’re in friendly mode.
Does this sound like a lot? Trust me, it only takes a minute or two per grooming zone, and the payoff is a smoother brush glide later.
Now that the tangles are out of the way, you can let the self‑cleaning cat brush do its magic without any hiccups. The brush’s motor won’t have to wrestle with clumped fur, so the cleaning cycle stays quiet and efficient – exactly what a skittish cat appreciates.
Quick tip: Keep a small grooming spray or water‑based detangler handy. A light mist on a stubborn knot can add slip, making it easier to tease apart without hurting the skin.
If you spot a knot that feels hard as a rope, it’s likely a mat that’s wrapped around a few hairs and the underlying skin. In that case, pause the brush, use a slick conditioner, and gently work the knot with your fingers before returning to the comb. Trying to force the brush through a thick mat can lead to a startled cat and a broken bristle.
Another red flag is any sign of redness or sensitivity. If the skin looks pink or your cat flinches, give the area a break and try again later. Sometimes a short grooming session spread over a few days is kinder than a marathon that leaves your feline anxious.
And remember, the goal isn’t to achieve a perfectly smooth coat in one go. It’s about creating a routine where you and your cat both feel comfortable. A little extra time spent detangling now means the self‑cleaning brush can glide effortlessly later, pulling out loose hair with a single button press.
So, grab that comb, give each knot some love, and let the brush take over the heavy lifting. Your cat will thank you with a relaxed purr, and you’ll enjoy a fur‑free sofa without the extra clean‑up.
Now that you’ve brushed out the tangles, it’s time to let the gadget do the heavy lifting. The moment you press the button, the motor inside the self cleaning cat brush spins the bristles fast enough to fling loose fur into the little collection tray. It sounds simple, but a few small habits can make that “push‑of‑a‑button” feel like magic every single grooming session.
1. Make sure the brush is firmly seated on a stable surface. A wobbly base can cause the motor to stall and leave hair stuck in the gears.
2. Press the clean‑mode button – most models use a single‑press toggle, but some have a two‑press sequence for a deeper cycle. If you’re not sure, give the button a quick tap and listen; a soft click means you’ve engaged the cycle.
3. Count to three while the bristles spin. That brief pause lets the centrifugal force fling the hair out of the brush head and into the tray. You’ll often hear a faint “whoosh” – that’s the sound of fur being expelled.
So, what should you do while the brush is working? This is a perfect time to reward your cat with a treat or a quick chin rub. The positive association keeps the experience calm and tells your feline that the noise isn’t a threat.
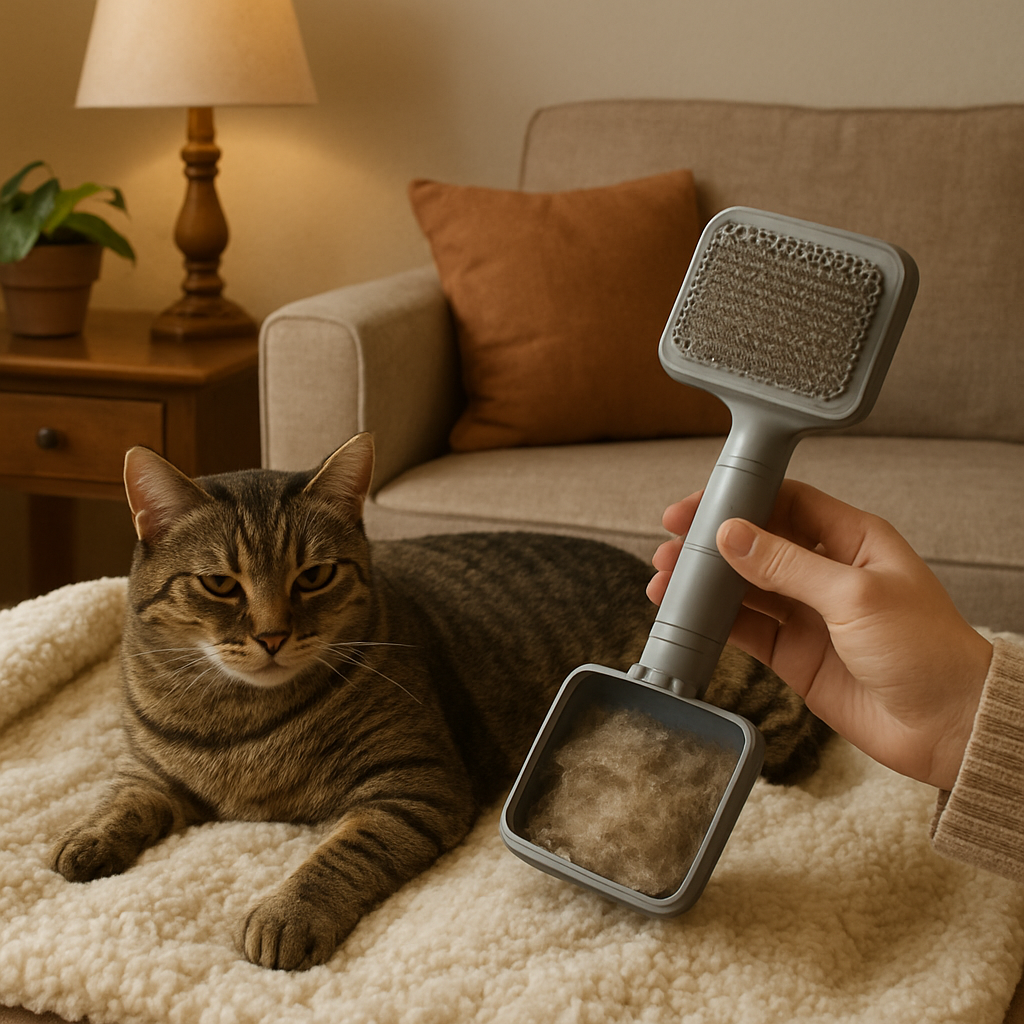
When the motor stops, the tray will be full of a fluffy carpet of fur. Most brushes have a slide‑out drawer; pull it gently, tap it over a trash bin, and slide it back in. If the tray is recessed, use the small latch on the side – a quick snap and the compartment opens.
Pro tip: do this after every grooming session, not just when the tray looks full. A half‑full tray can cause the next cycle to be less efficient because the bristles have less space to move.
One of our readers, a Maine Coon owner, noticed that after a big summer shedding spell the brush would stop halfway through the cleaning cycle. She discovered a single clump of fur had lodged in the motor vent. By giving the vent a quick brush with a dry cotton swab each week, the brush finished every cycle without stalling. The simple maintenance step shaved off 10‑15 minutes of extra cleaning each week.
Veterinary groomer Lina Patel recommends running the brush without a cat at least once a month. “It clears out any fine dust that can build up in the gears,” she says. She also suggests using a dry, lint‑free cloth to wipe the outer housing – a clean exterior helps the motor stay cool and quiet.
If you’re looking for a parallel in other self‑cleaning tools, the same principle is used in Revel’s self‑cleaning nail art brush, which flushes pigment‑laden bristles into the bottle with a simple spin self‑cleaning design. The idea is identical: let the motion do the work so you don’t have to scrub by hand.
Finally, make a habit of noting the cleaning time in your grooming calendar. A quick check‑in after each session – “brush cleaned, tray emptied, motor humming” – creates a mental checklist that keeps the routine smooth and prevents forgotten maintenance.
With these steps, operating the self cleaning cat brush becomes as easy as pressing a button and watching the fur disappear. Your cat stays comfortable, your floor stays fur‑free, and you get back those extra minutes to cuddle on the couch.
Alright, you’ve gotten the fur out, the motor’s humming, and the cat is purring. The next thing most people skip is the “after‑care” – the little routine that keeps the self cleaning cat brush working like new for months instead of weeks. Trust me, a few minutes now saves you from a jammed brush later, and your feline will thank you with more relaxed grooming sessions.
After every grooming pass, pull the collection tray out and give it a light tap over the trash. That’s it for most days – no need to disassemble the whole thing. A quick swipe with a dry lint‑free cloth over the outside of the brush head removes stray hairs that might otherwise sneak back into the pins.
Does it feel like “just another chore”? Think of it as the same habit you have for brushing your own teeth – a tiny habit that prevents big problems down the line.
Once a week, set aside five minutes for a more thorough clean. First, turn the brush off and remove any batteries or unplug it. Then slide the tray out, dump the fur, and rinse the tray under warm water. Let it air‑dry on a towel – no need for a dryer.
Next, detach the brush head if your model allows it. Run a soft, damp brush (an old toothbrush works great) through the pins to dislodge any hair that’s curled around the stainless‑steel tips. The Safari® by Coastal self‑cleaning slicker brush, for example, uses coated stainless‑steel pins that are gentle yet sturdy, and a simple rinse does the trick Coastal’s guide explains. Pat the head dry with a paper towel before snapping it back together.
While the brush is open, glance at the tiny vent on the motor housing. A quick brush‑off with a cotton swab clears dust that can mute the motor’s spin. If the brush runs on rechargeable batteries, wipe the contacts with a dry cloth – oxidation shows up as a faint gray film. A clean connection means a consistent spin and less whining.
Ever heard that weird grinding noise? It’s usually hair wrapped around the spindle. Spot it early, pull it out with tweezers, and you’ll avoid a full‑cycle stall.
Write a one‑line reminder in your phone or on the fridge: “Brush clean, tray emptied, motor checked.” Checking the box after each session builds a mental habit loop, so you never forget the small steps. Some cat‑loving friends even set a weekly calendar event titled “Brush TLC” – it’s surprisingly satisfying to see the streak grow.
And if you’re the type who loves data, note how long the cleaning cycle lasts each week. A sudden increase in spin time can signal a build‑up you missed, prompting an extra deep clean.
When you’re not using the brush, store it in a dry place, away from direct sunlight. Excess heat can warp the plastic housing, and humidity encourages rust on the pins. A small zip‑lock bag works fine, or just tuck it into the same drawer as your other grooming tools.
Finally, give yourself a quick pat on the back. Maintaining the self cleaning cat brush isn’t just about the tool – it’s about preserving a calm, enjoyable grooming ritual for you and your cat.
Alright, you’ve got the brush prepped, the tangles out, and the cleaning cycle humming. Now it’s time to stare at the lineup and pick the one that actually fits your cat’s personality and your kitchen counter space.
First, ask yourself: does your cat have a thick double coat or a sleek short fur? Does your living room double as a quiet study? Those answers will steer you toward the right bristle type and motor noise level. In our experience at Kaotik kollectionz, the little details – like a removable tray versus a flip‑open compartment – can save you minutes of frustration each week.
Second, think about power source. Battery‑run models give you freedom to roam, but a plug‑in brush often delivers a steadier spin and louder motor. If you’ve ever been startled by a sudden whirr at 2 am, you’ll want to note the decibel rating (most brands list it in the specs).
| Brush | Bristle Type | Cleaning Mechanism | Noise Level | Price (USD) |
|---|---|---|---|---|
| FurEase Turbo | Silicone rubber | Slide‑out tray with one‑press spin | Quiet (≈45 dB) | $39 |
| WhiskerSweep Pro | Stainless‑steel pins | Rotating drum that empties into a snap‑lock drawer | Moderate (≈58 dB) | $49 |
| CozyClean Plus | Soft nylon | Pull‑out liner that folds for easy disposal | Very quiet (≈40 dB) | $45 |
Notice the trade‑off: the FurEase Turbo is the quietest and cheapest, but its silicone bristles are gentler, so it shines on short‑haired breeds. The WhiskerSweep Pro’s steel pins tackle dense undercoats but bring a bit more buzz – perfect for a Maine Coon that loves a deep de‑shedding session. The CozyClean Plus sits in the middle, offering a disposable liner that some cat parents swear by for quick clean‑ups after a rainy day. You’ll also notice how smooth the tray slides out, which matters when you’re in a hurry.
So, which one feels right for you? Picture your cat perched on the armchair while you press the button. If the motor sounds like a distant blender, you’ve probably found a match. If it rattles like a kitchen mixer, you might want to downgrade the power or opt for the quieter silicone model.
Many online retailers – including us – offer a 30‑day satisfaction window. Use it to run a full cleaning cycle with the brush empty, then with a handful of fur collected from a grooming session. Pay attention to three things: does the hair drop cleanly into the tray, does the brush feel balanced in your hand, and does the noise level stay below the volume of your morning coffee grinder?
If any of those feel off, note the model number and reach out to customer support while the return period is still open. A quick photo of the tray stuck mid‑cycle can speed up the process.
One more tip: keep a tiny notebook (or a notes app) beside your grooming station. Jot down the model you tried, the date, and a one‑sentence impression – “quiet, but bristles missed the belly”. After a few weeks you’ll have a mini‑review that makes the final decision crystal clear.
Bottom line: the “best” brush isn’t a one‑size‑fits‑all. It’s the one that respects your cat’s coat type, keeps the noise low enough for a nap‑time grooming, and fits your budget without forcing you to dismantle it every night. Use the table as a quick cheat sheet, test a cycle or two, and you’ll land on a brush that makes the whole grooming ritual feel like a breezy chat over coffee.
You’ve gotten the brush working, but sometimes it throws a curveball. That’s normal – even the best gadgets need a little TLC. In this step we’ll walk through the most common hiccups and give you a quick‑fix roadmap so you can get back to a calm grooming session.
First, spot the warning signs. The brush might:
If you notice any of these, don’t panic – a few minutes of troubleshooting usually solves the problem.
Keep this cheat sheet on your grooming table. It takes less than a minute to run through.
Doing these steps every few uses prevents most jams.
A dead motor is usually a power issue. Check that the battery contacts are clean – a faint gray film can block the flow of electricity. If you’re using rechargeable cells, make sure they’re charged; a low‑charge battery often produces a faint whirr instead of a full spin. Swapping in a fresh AA pair is the fastest way to confirm whether the power source is the culprit.
Still silent? Then the motor itself might be clogged.
Hair can wind around the spindle and create friction. With the brush off, use a pair of tweezers or a soft brush to pull any strands away from the centre. Once cleared, give the motor a quick turn by hand – you should feel a smooth rotation.
The collection tray is designed to slide out, but a tight hair bundle can lock it in place. Gently tap the side of the tray against a hard surface to loosen the bundle. If that doesn’t work, lift the tray slightly and use a thin plastic card (like an old credit‑card) to pry the hair out without scratching the plastic.
Avoid using metal tools – they can damage the snap‑lock mechanism.
Beyond dead cells, the brush’s power switch can develop contact wear. Spray a tiny amount of contact cleaner onto the switch and move it back and forth a few times. Let it dry for a minute before testing again. If the button feels spongy, it may need replacement – most manufacturers sell a spare for a few dollars.
A louder brush can startle a nervous cat. First, verify that nothing is rubbing against the housing – a stray hair strand can act like a belt. Next, tighten any loose screws on the brush body; vibration often amplifies noise. Finally, lubricate the moving parts with a drop of silicone oil (food‑grade is safest) on the spindle. A little lubrication can drop the decibel level by several points.
The best way to avoid troubleshooting is to build a habit. After each grooming session, empty the tray and give the bristles a quick brush‑off with a dry toothbrush. Once a week, run the brush empty for a full cycle – this flushes dust from the motor vent. And keep the battery compartment dry; moisture is a silent enemy that corrodes contacts over time.
By treating the brush like a small piece of equipment rather than a disposable toy, you’ll enjoy months of smooth operation and keep your cat’s coat looking salon‑ready.
So the next time your self cleaning cat brush hiccups, you now have a clear plan. A few minutes of check‑ups, a bit of patience, and you’ll be back to those quiet, fur‑free grooming sessions in no time.
We’ve walked through everything from prepping your cat to troubleshooting a stubborn motor, so you know exactly how a self cleaning cat brush can turn a messy grooming routine into a quick, calm moment.
Remember the three pillars: keep the brush clean, run a short empty cycle each week, and check the battery contacts before each use. Those tiny habits save you hours of fur‑picking later and keep your kitty relaxed.
What’s the biggest win? You get more cuddle time and less cleaning time. Imagine swapping a half‑hour of fur‑vacuuming for a five‑minute brush session while you sip coffee.
In our experience at Kaotik kollectionz, cat owners who stick to the simple maintenance checklist see their brushes last well beyond the warranty period – and their cats stay purr‑happy.
So, what’s the next step? Grab your brush, give the tray a quick tap, run that empty spin, and set a reminder on your phone. Treat it like brushing your teeth – a few seconds each day keeps the problem away.
Enjoy the smoother coat, the quieter motor, and the extra moments you earn with your feline friend. Happy grooming!
Keep this routine simple, stay consistent, and your self cleaning cat brush will stay reliable for years.
We recommend hitting the clean‑mode button at least once a week, even if the tray looks empty. A weekly empty‑run flushes fine dust from the motor vents and prevents hair bridges from forming. If your cat is a heavy shedder, you might add a quick cycle after every grooming session – it only takes ten seconds and keeps the brush humming smoothly.
Absolutely, but the bristle type matters. Silicone or soft rubber bristles glide over short coats without snagging, while stainless‑steel pins excel at lifting dense undercoat on long‑haired breeds. If you switch between coat types, give the brush a brief visual check for bent pins and run a short empty cycle before you start. That extra moment saves both you and your cat from unexpected tugs.
First, turn the unit off and remove the battery or unplug it – safety first. Then inspect the collection tray for a hair bundle that might be jamming the spindle. A gentle tap on the side of the tray usually loosens the blockage. If the motor still won’t turn, wipe the vent with a cotton swab and try a fresh battery; most stalls are power‑related.
Yes, as long as the model has an auto‑shutoff feature, which most modern brushes do. Plugging it in keeps the motor ready for a quick spin, but if you live in a humid climate, unplugging overnight can protect the electronics from moisture. A simple rule: if you’ll be away longer than 24 hours, pull the plug and store the brush in a dry drawer.
Use a dry, lint‑free cloth or a soft pencil eraser to rub away any gray film on the contacts. Avoid liquids – even a tiny splash can cause corrosion. If you notice stubborn residue, a tiny dab of isopropyl alcohol on the cloth works wonders, just let it dry completely before reinserting the cells. Clean contacts equal a consistent spin.
Ideally, yes. A half‑full tray reduces the space for hair to fling out, which can dull the cleaning efficiency and make the motor work harder. Emptying it into the trash, giving it a quick tap, and sliding it back in takes less than a minute. Think of it like brushing your teeth – a quick rinse after each use keeps everything fresh.
Watch for flattened ears, a sudden tail flick, or a quick retreat after a single brush stroke. If your cat lets out a low growl or tries to bite the handle, those are clear red flags. In those moments, pause, offer a treat, and try a slower, gentler pass. Remember, the goal is a calm purr, not a frantic escape.


Leave a comment